Using Cloud Shell
This section describes how to use Cloud Shell.
Getting Started with Cloud Shell
You can access Cloud Shell in two ways:
- Via the OCI Console
- Via the 'Try It' button that appears on many command line and code samples throughout the documentation
Cloud Shell uses your user OCID to create your home directory. If you have multiple accounts in a tenancy (for example, you have a federated and a non-federated user account), you will get a separate, unique Cloud Shell home directory for each account.
To access Cloud Shell via the Console:
- Login to the Console.
- Click the Cloud Shell/Code Editor icon in the Console header and select Cloud Shell from the drop-down menu. Note that the OCI CLI running in the Cloud Shell will execute commands against the region selected in the Console's Region selection menu when the Cloud Shell was started.

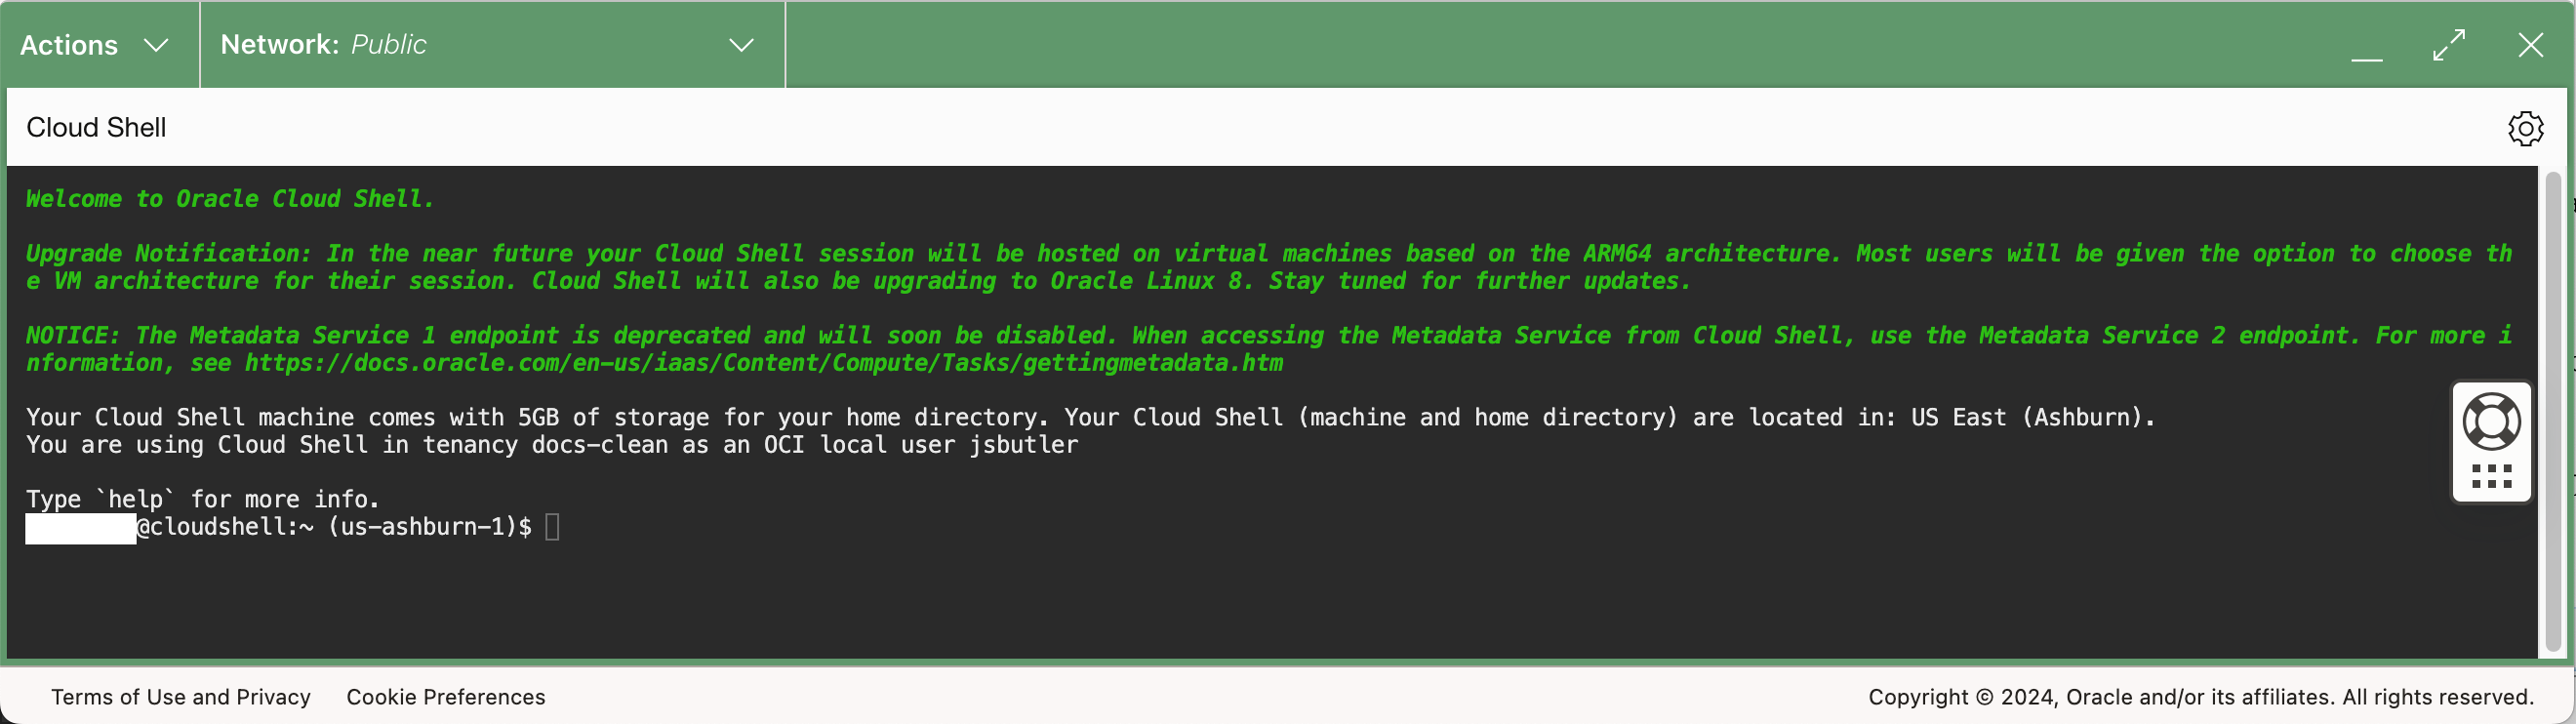
This displays the Cloud Shell in a "drawer" at the bottom of the console:
You can use the icons in the upper right corner of the Cloud Shell window to minimize, maximize, restart, and close your Cloud Shell session.
To move the focus away from Cloud Shell using the keyboard, use Ctrl-ESCAPE.
For clipboard operations, Windows users can use Ctrl-C or Ctrl-Insert to copy, and Shift-Insert or Ctrl-V to paste. For Mac OS users, use Cmd-C to copy and Cmd-V to paste.
To access Cloud Shell via the Try It button:
Many code and command samples in the OCI documentation include a Try It button. This button will copy the sample to the clipboard and open a Cloud Shell session so you can try out the sample.
Your Cloud Shell comes with the OCI CLI pre-authenticated, so there's no setup required before you can start using it.
Try it with the following commands:
oci os ns getoci iam compartment listInteract with an OKE cluster from Cloud Shell
Follow the instructions in Setting Up Cloud Shell Access to Clusters to:
- Set up an OKE kubeconfig file for use with Cloud Shell:
- Select a cluster.
- Click the Access Cluster button.
- Click Cloud Shell Access.
- Click Launch Cloud Shell to display the Cloud Shell window.
In the Cloud Shell window, run the Oracle Cloud Infrastructure CLI command to set up the kubeconfig file and save it in a location accessible to kubectl. For example:
$ oci ce cluster create-kubeconfig --cluster-id ocid1.cluster.oc1.phx.aaaaaaaaae... --file $HOME/.kube/config --region us-phoenix-1 --token-version 2.0.0
-
Verify that kubectl is available and can connect to the cluster from the Cloud Shell window by entering the following command in the Cloud Shell window:
$ kubectl get nodes
Transferring Files
- You can only select one file at a time to transfer with the File Transfer dialog, but you can select multiple files to transfer using drag and drop.
- You cannot transfer directories.
- The maximum file size is 4GB.
- File permissions are not retained on transferred files.
- File names are logged. Do not use Personally Identifiable Information (PII) in file names.
- Drag one or more files into the Cloud Shell window.
To upload a file to Cloud Shell using the menu:
- Click the Cloud Shell menu at the top left of the Cloud Shell window and select Upload. The File Upload dialog appears.
- Drag and drop a file or click select from your computer.Note
The File Transfer dialog only supports selecting one file at a time to transfer. - Click the Upload button.
- The File Transfer dialog appears.
- File transfers that are in-process are shown with a progress bar
- You can cancel an in-progress file transfer by clicking the X next to the file's progress bar
- Completed file transfers are shown with a green check mark
- You can hide the File Transfer dialog by clicking Hide
- You can view the File Transfer dialog any time by selecting File Transfers from the Cloud Shell menu
To download a file from Cloud Shell:
- Click the Cloud Shell menu at the top left of the Cloud Shell window and select Download. The File Download dialog appears:
- Type in the name of the file in your home directory that you want to
download.Note
You can only download files from your home directory. - Click the Download button.
- The File Transfer dialog appears.
- File transfers that are in-process are shown with a progress bar
- You can cancel an in-progress file transfer by clicking the X next to the file's progress bar
- Completed file transfers are shown with a green check mark
- You can hide the File Transfer dialog by clicking Hide
- You can view the File Transfer dialog any time by selecting File Transfers from the Cloud Shell menu
Customizing the Cloud Shell OCI CLI Configuration
Cloud Shell comes with a pre-authenticated OCI CLI, which is refreshed and provisioned for your user when you open a new Cloud Shell. The OCI config location and token are outside of the user's home directory, in /etc/oci. For example:
            example_user@cloudshell:~ (us-ashburn-1)$ ll /etc/oci
            total 20K
            drwxrwx---. 1 root oci 44 Oct 12 00:07 ./
            drwxr-xr-x. 1 root root 4.0K Oct 12 00:07 ../
            -rw-------. 1 jonathan_s oci 1.9K Jan 1 1970 config
            -rw-------. 1 jonathan_s oci 1.3K Jan 1 1970 delegation_token
            example_user@cloudshell:~ (us-ashburn-1)$
The location of the configuration file, OCI CLI authentication type, and profile choice are specified with environment variables:
OCI_CLI_AUTH=instance_obo_user
            OCI_CLI_CONFIG_FILE=/etc/oci/config
            OCI_CLI_PROFILE=us-ashburn-1
To customize the OCI CLI, you can create an OCI CLI RC file and put that in your local .oci directory:
$ oci setup oci-cli-rc --file path/to/target/fileFor more information on configuring the OCI CLI, see Configuring the CLI.
Managing Cloud Shell Regions
Cloud Shell uses the CLI config file and ENV variables to determine which region that the OCI CLI is interacting with. The OCI CLI configuration file (specified by the environment variable OCI_CLI_CONFIG_FILE) contains the CLI profiles for Cloud Shell. Each region is its own CLI profile, and the current profile is specified via the OCI_CLI_PROFILE environment variable.
For example, if you open Cloud Shell from the Console with "US East (Ashburn)" selected in the Console region dropdown, Cloud Shell will open with the OCI_CLI_PROFILE set to us-ashburn-1.
There is no
[DEFAULT] profile value in Cloud Shell because the selected region changes depending on the Console configuration when Cloud Shell is opened.If you would like to customize the OCI CLI settings in Cloud Shell you can use an OCI CLI configuration file. For example, to set a default compartment in your configuration file under the appropriate region profile in your RC file. For our "us-ashburn-1" example, you could add a default compartment setting like this:
[COMPARTMENT DEFAULTS]
[us-ashburn-1]
compartment-id = ocid1.compartment.oc1..xxxxxxxx
Resetting Your Cloud Shell Environment
You can use the csreset tool to reset your Cloud Shell environment to its default state. You can reset just your bash profile and emacs settings, or you can delete all of the data in your home directory and reset the bash and emacs settings.
To reset your bash files
You can use the --bashfiles (or -b) option to reset the $HOME/.bashrc, $HOME/.bash_profile, $HOME/.bash_logout and $HOME/.emacs files back to their default values:
csreset --bashfilesor
csreset -bTo reset everything
You can use the --all (or
-a) option to erase all the data in your $HOME
directory and reset the $HOME/.bashrc,
$HOME/.bash_profile,
$HOME/.bash_logout and
$HOME/.emacs files back to their default
values:
csreset --allor
csreset -aDisplaying help
To display usage options, use the --help or -h option:
csreset -hor
csreset --helpBacking Up and Restoring Your Cloud Shell Home Directory using Object Storage
You can archive and back up the content of your Cloud Shell Home Directory to a bucket in Object Storage.
While Cloud Shell provides persistence between sessions, the service does not provide the ability to restore files that may have been inadvertently deleted by the user. The service also does not provide disaster recovery for data contained in your home directory. If your data is critical to you, consider creating cross region backups.
To back up your Cloud Shell home directory to Object Storage
- Create a bucket in Object Storage that will contain your backup (you can also use an existing bucket). For information on how to work with buckets in Object Storage, see Object Storage Buckets.Note
To find the default Object Storage namespace for your tenancy you can run the command:oci os ns get. - Run the following command from a Cloud Shell prompt. Make sure the values of
OCI_CS_USER_BACKUPS_BUCKET_NAMEandOCI_CS_USER_BACKUPS_NAMESPACEare set to the appropriate values for your backup:OCI_CS_USER_BACKUPS_BUCKET_NAME="MyCloudShellBackupsBucket" OCI_CS_USER_BACKUPS_NAMESPACE="NamespaceForBackupsBucket" FILENAME=CloudShellHomeDirectoryBackup-$OCI_REGION-$OCI_CS_USER_OCID-$(date --iso-8601=seconds).tar.gz TEMP_TAR_LOCATION=/tmp tar -zcvf $TEMP_TAR_LOCATION/$FILENAME ~/ echo "Creating backup object: $FILENAME in bucket: $OCI_CS_USER_BACKUPS_BUCKET_NAME in namespace: $OCI_CS_USER_BACKUPS_NAMESPACE" oci os object put --namespace-name $OCI_CS_USER_BACKUPS_NAMESPACE --bucket-name $OCI_CS_USER_BACKUPS_BUCKET_NAME --file $TEMP_TAR_LOCATION/$FILENAME rm $TEMP_TAR_LOCATION/$FILENAME - Validate that all commands completed without error. You can run the
following command to confirm your backup file exists in Object Storage and
is the expected
size:
oci os object head --namespace-name $OCI_CS_USER_BACKUPS_NAMESPACE --bucket-name $OCI_CS_USER_BACKUPS_BUCKET_NAME --name $FILENAME
To restore your Cloud Shell home directory from Object Storage
- Find the name of the object with your backup and the name of the bucket it is in. You will need these values as parameters for the commands below. For information on Object Storage, see the Object Storage documentation.
- Run the following commands from a Cloud Shell prompt. Make sure that you
replace the variables
OCI_CS_USER_BACKUPS_BUCKET_NAME,OCI_CS_USER_BACKUPS_OBJECT_NAME, andOCI_CS_USER_BACKUPS_NAMESPACEwith your appropriate values.Note
To find the default Object Storage namespace for your tenancy you can run the command:oci os ns get.Note
The tar command does not overwrite existing files. If you want to overwrite existing files, remove the--skip-old-filesparameter and add the--overwriteparameterOCI_CS_USER_BACKUPS_BUCKET_NAME="MyCloudShellBackupsBucket" OCI_CS_USER_BACKUPS_OBJECT_NAME="CloudShellHomeDirectoryBackup-us-ashburn-1-ocid1.user...tar.gz" OCI_CS_USER_BACKUPS_NAMESPACE="NamespaceForBackupsBucket" TEMP_TAR_LOCATION=/tmp oci os object get --namespace-name $OCI_CS_USER_BACKUPS_NAMESPACE --bucket-name $OCI_CS_USER_BACKUPS_BUCKET_NAME --name $OCI_CS_USER_BACKUPS_OBJECT_NAME --file $TEMP_TAR_LOCATION/$OCI_CS_USER_BACKUPS_OBJECT_NAME tar --skip-old-files -xzvf $TEMP_TAR_LOCATION/$OCI_CS_USER_BACKUPS_OBJECT_NAME -C / rm -rf $TEMP_TAR_LOCATION/$OCI_CS_USER_BACKUPS_OBJECT_NAME - Check the command output and the files in your home directory to validate that all commands completed without error.
Working with Python Versions
python at the command
prompt:pythonWorking with kubectl Versions
Cloud Shell comes pre-installed with each Kubernetes version currently supported by OKE. These versions are installed in /usr/local/bin/kubectl-{version} (for example: /usr/local/bin/kubectl-v1.17.13), and the path to binary is included in the PATH environment variable.
By default, running kubectl in your Cloud Shell session will invoke the
second most recent installed version of kubectl. We do this to optimize for
compatibility based on Kubernetes' version skew policy.
If you want to use a version of kubectl different than the default version, you can invoke the version-specific binary.
kubectl-v1.17.13 get servicesalias kubectl=kubectl-v1.17.13If you want the alias to persist between Cloud Shell sessions, add the alias definition to your
~/.bashrc file.Managing Language Runtimes
csruntimectl command to view and manage the language
runtimes that Cloud Shell uses for program execution.The
csruntimectl command currently only supports Java.list option. For
example:csruntimectl java listset option to specify which version of the runtime
Cloud Shell uses. For example, to set the Java
runtime:csruntimectl java set oraclejdk-11Note that this setting persists across Cloud Shell sessions.
help option to output a list of the currently supported
options:csruntimectl helpGetting the Public IP Address for a Cloud Shell Session
The Cloud Shell public IP address is dynamic. It will not change during a Cloud Shell session, but it can change when you start a new session.
curl -s checkip.dyndns.org | sed -e 's/.*Current IP Address: //' -e 's/<.*$//'This command returns the public IP address of the NAT Gateway associated with Cloud Shell. Since your Cloud Shell is not associated with an Internet Gateway, you cannot use this IP address to reach a web service running on your Cloud Shell.